Operation Martlet: Pushing On (Table 2, Turn 4)
Having broken through the 12th SS’ outer defenses, Lt Muir’s Scots Fusiliers push deeper into Fonteney le Pesnel. With a total of seven men killed and one being patched up, Muir goes to his company CO requesting reinforcements. He’s granted 6 additional men, which brings his total deficit to just one dead and one wounded. Needing to dislodge the panzergrenadiers, he’s supported by another Churchill, a medic, an additional infantry squad, and a Vickers MMG. Oberscharfuhrer Mahler is down five men, four killed and one being patched up. He has an attached adjutant, and two five man rifle teams - one to reinforce his weakened squads, one with a panzerfaust to hold up his sleeve.
 |
| Inner Fonteney |
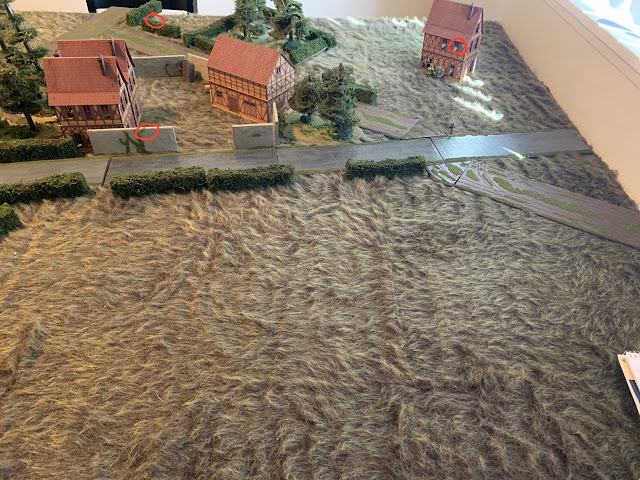
The patrols discover German positions in the vicinity of the walled courtyard, the hedgerows to the east, and potentially in the lone cafe to the southeast. They are able to establish a British foothold in the orchard to the north, the farmhouse just west of the orchard, and the crossroad to the north.
 |
| German Jump Off Points |
 |
| Scottish JOPs |
Established on the outskirts, the fusiliers press into the village, first the attached infantry squad presses down the road with Cpl McPhee’s section on overwatch in the farmhouse. The naval bombardment keeps the Germans’ heads down while Cpl Murdoch brings his squad in through the orchard. Cpl Reilly deploys to the cross road, and maneuvers up the dirt road along the hedges.
Seeing the Scots moving forward, Scharfuhrer Bergman deploys his squad of panzergrenadiers into the hedgerows off to the east, opening up on Bailey Murdoch’s section in the orchard. The thin trees provide little cover, one rifleman falling dead. The overwatch fire from McPhee’s section proves effective, killing one of the Germans and knocking Bergman unconscious. The remaining machine gunners put down fire and withdraw deeper into the hedges, dragging their knocked out NCO with them. Scharfuhrer Schildkraut fills in the now open hedgeline, directing MG42 fire back into the orchard.
 |
| Bergman and Schildkraut’s squads fire into the orchard |
In a response to the localized German resistance, Lt Muir deploys into the orchard and helps rally Bailey’s section. The 2” mortar comes with, firing HE into the hedgerow. McPhee’s section puts down covering fire on the hedge, while Bailey’s fires for effect. With all of the incoming fire, a couple more Germans go down. The panzergrenadiers double down on their efforts, sensing Bailey’s section is on the precipice. Oberscharfuhrer Mahler deploys and rallies the two squads, coordinating their combined machinegun fire. This sees Bailey’s section break for the rear of the orchard.
In an attempt to relieve the pressure from Bailey’s section, Reilly takes his section up the road towards the Germans, firing forward and throwing smoke to cover their advance. They think better of charging the machinegun nest and duck into the woods under the covering fire of McPhee’s section. To emphasize the rightness of their decision, the MG42s swing on Reilly and his section, killing their trailing man as he runs for the woods.
 |
| Reilly orders his section into the woods |
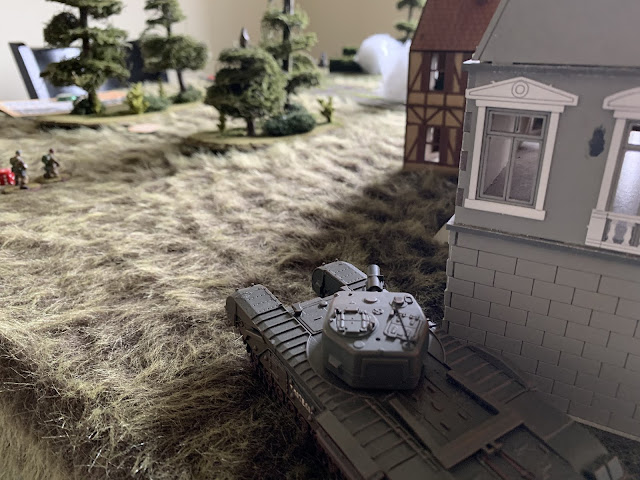
All the while, a Churchill AVRE has slowly trekked from the road to the corner of the orchard. The Germans see the upcoming behemoth, and Mahler orders his men to fall back into the hedges, attempting to make a fighting withdrawal. They get caught up trying to press back through the hedges, and the Churchill lobs a shell into their midst, the resulting explosion shocking all and killing one panzergrenadier.
 |
| The Churchill fires into the panzergrenadiers |
In the end, Mahler decides a fighting withdrawal is impossible with the oncoming Churchill and subsequently orders the retreat.
Totaled up, the Scots lost three men dead and two to the regimental aid post, while the Germans lost one dead and one to be patched up. Lt Muir’s men were bothered, feeling that while they took the ground, it came at a disproportionately high cost, but his CO thinks quite highly of him. Overall he, himself, feels quite secure. Mahler’s men felt that he considered them above all else and nearly revere him, and his CO is neither happy nor upset about the withdrawal he chose. He too is feeling secure in himself. We’ll soon figure out who really should be feeling secure in their position, and who should not.
Another fun game, a table that I intended to make a fighting withdrawal on. I had hoped to continue the fight further back on the table as well, but seeing my troops fumbling to withdraw in the face of the Churchill, I decided the time to withdraw had come. The quick and bloody fight in the hedgerow and orchard helped, but it didn’t make the dent in the reinforcements that I hoped it would, and -A- will be attacking my main line next with a fairly healthy platoon and a vast pool of support points to spend. Till next time!
Caleb
Great write-up my friend! We gotta do a BIG CoC game.
ReplyDeleteExcellent report and a well played game!
ReplyDelete